


About this item
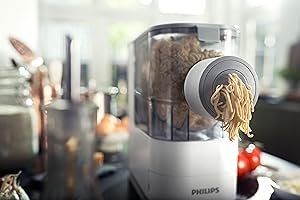
- Automatically kneads and extrudes 2-3 servings of fresh pasta in just 18 minutes thanks to uniquely designed stirring bar. Cord length : 40 Inches
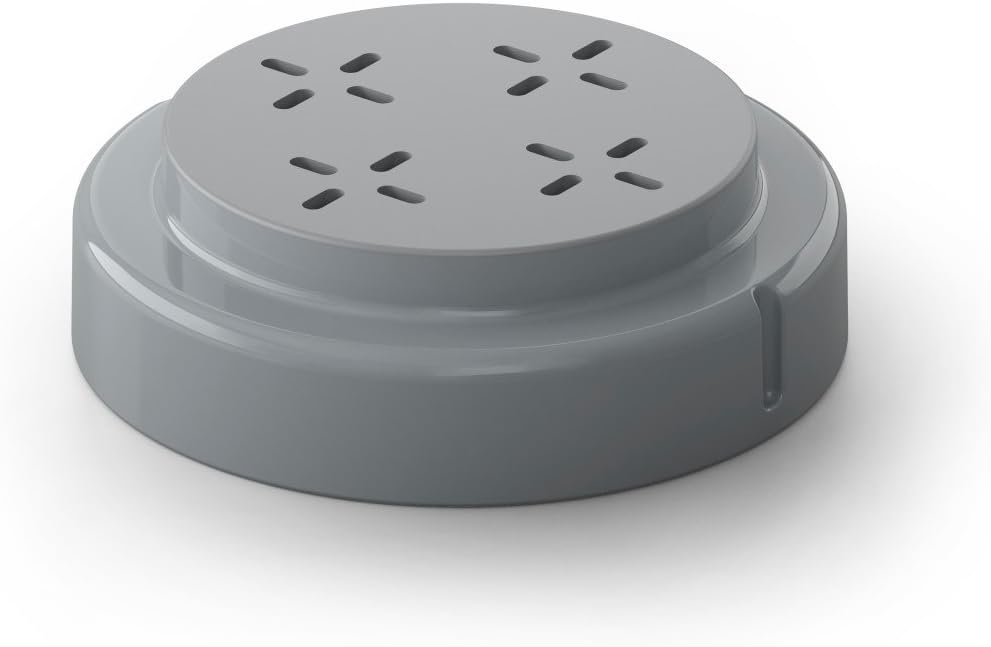
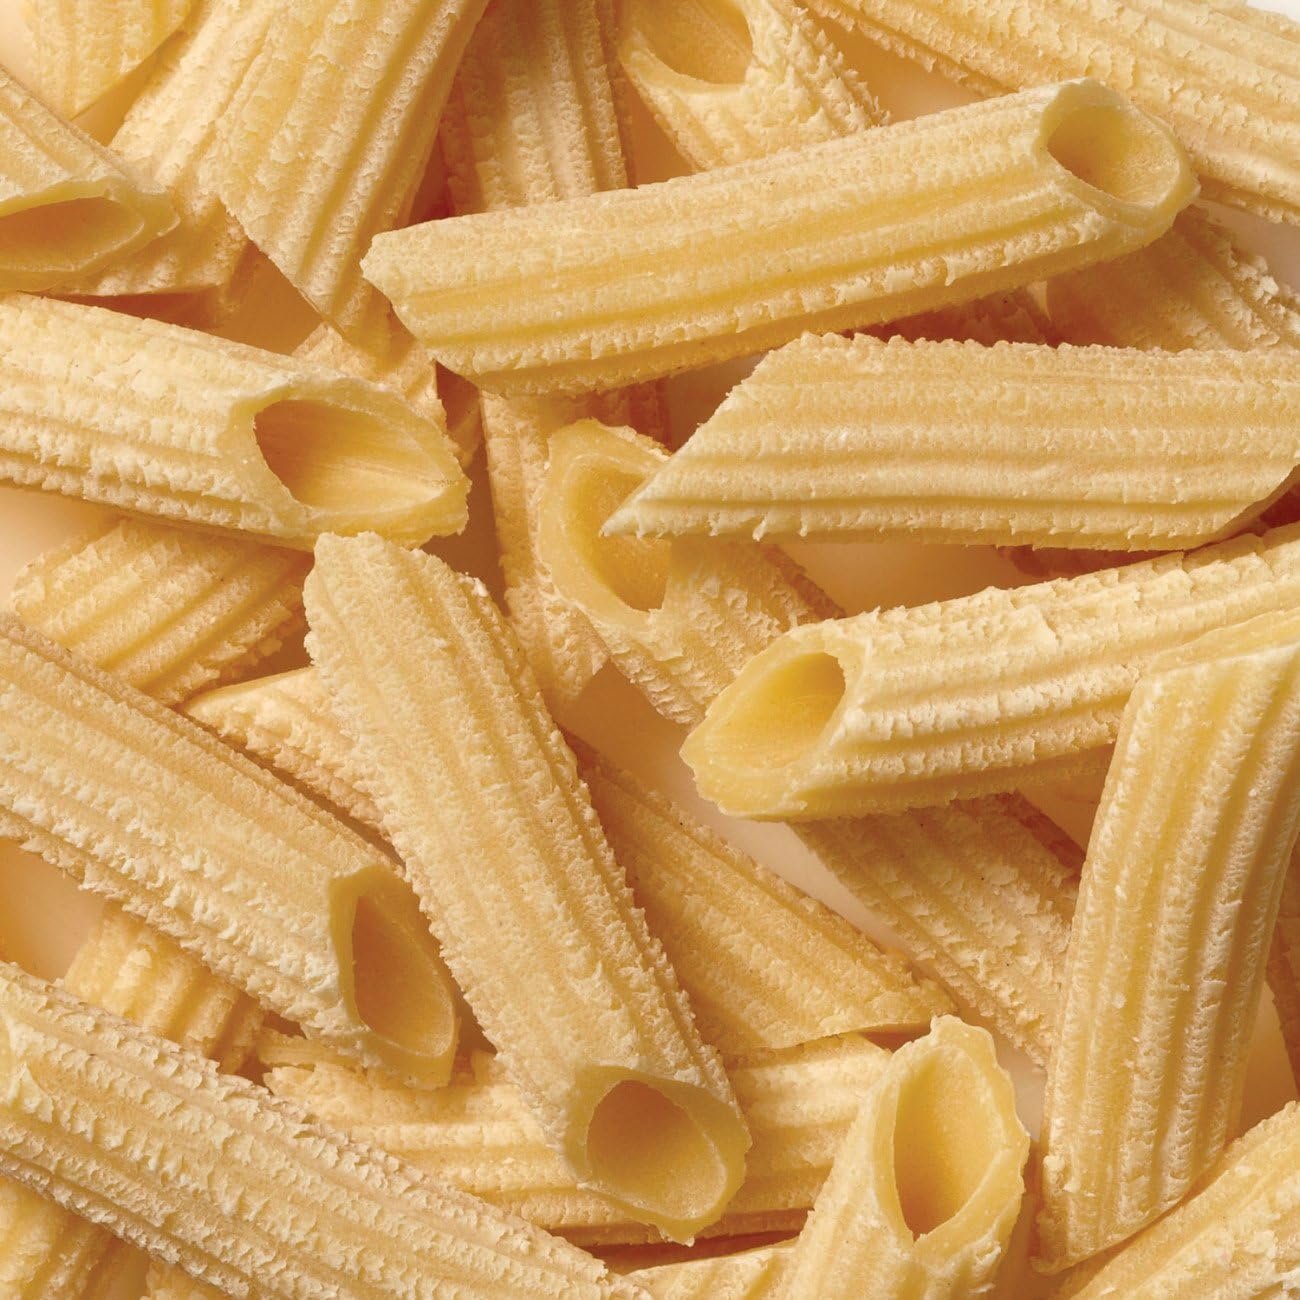
- With the machine there are 3 default classic shaping discs for Spaghetti. Penne and Fettuccini. The special shaping discs enable a double extrusion process to assure smooth pasta and noodles consistently
- By using different flour and adding different ingredients like egg. herbs or spinach and carrot juice. you can make various types and flavors of pasta
- Space saving design allows you to keep it out on the counter for everyday use
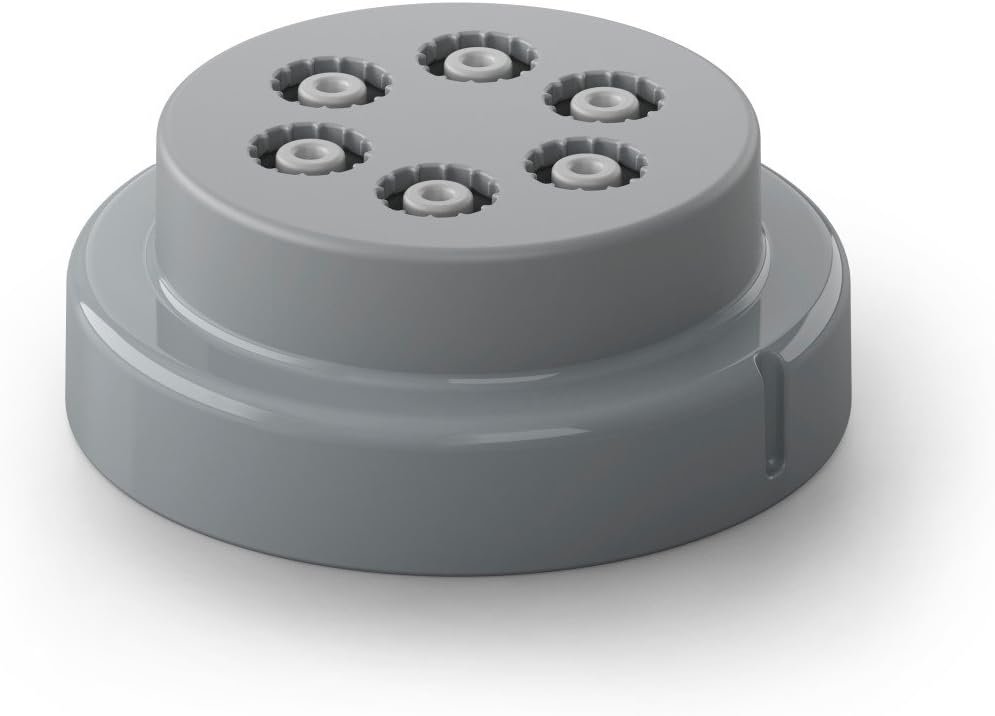
- Smart built-in storage for shaping discs
From the manufacturer


Why Choose Philips?
- Philips is a diversified company, focused on improving people’s lives through meaningful innovation
- Focused in the areas of Healthcare, Consumer Lifestyle and Lighting
- The Philips brand is synonymous with innovation, products and services of high quality
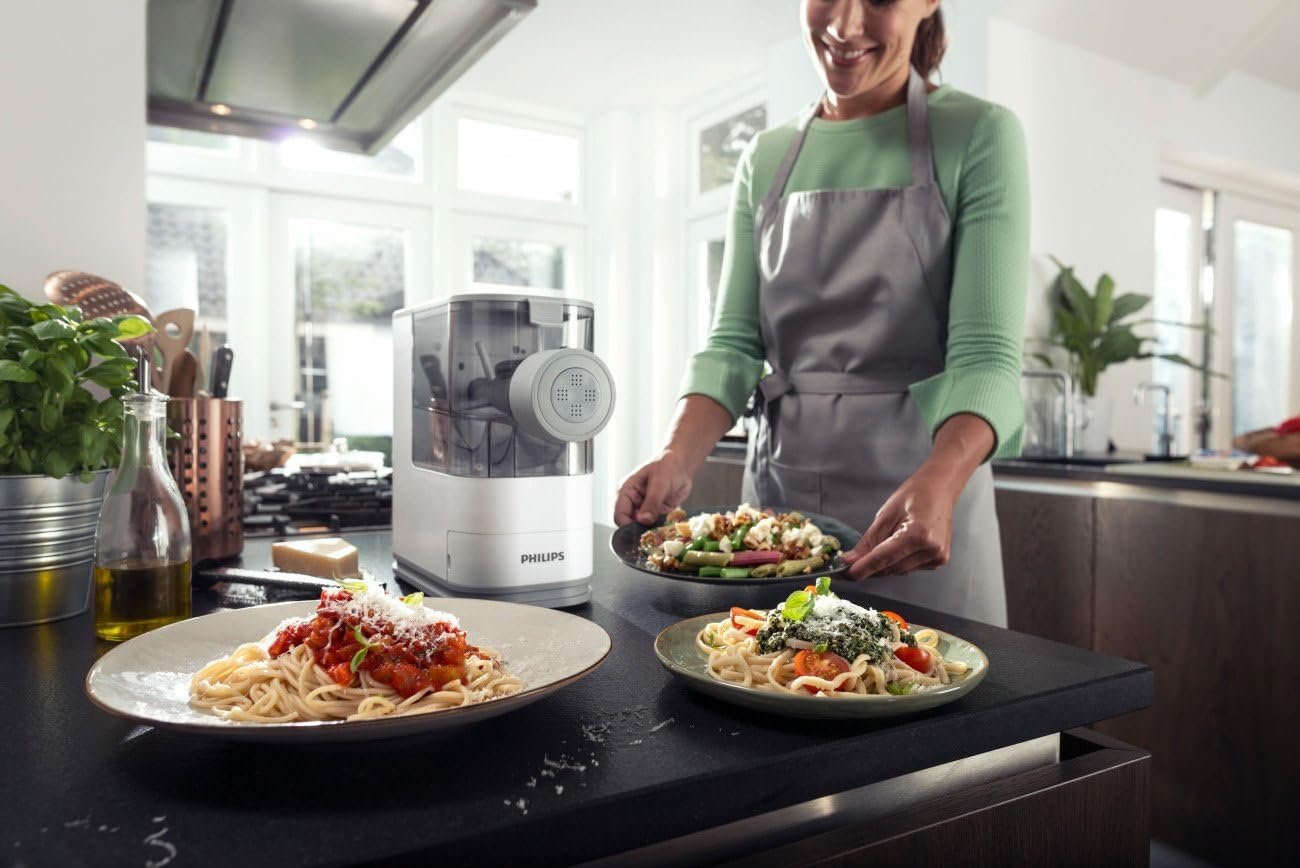
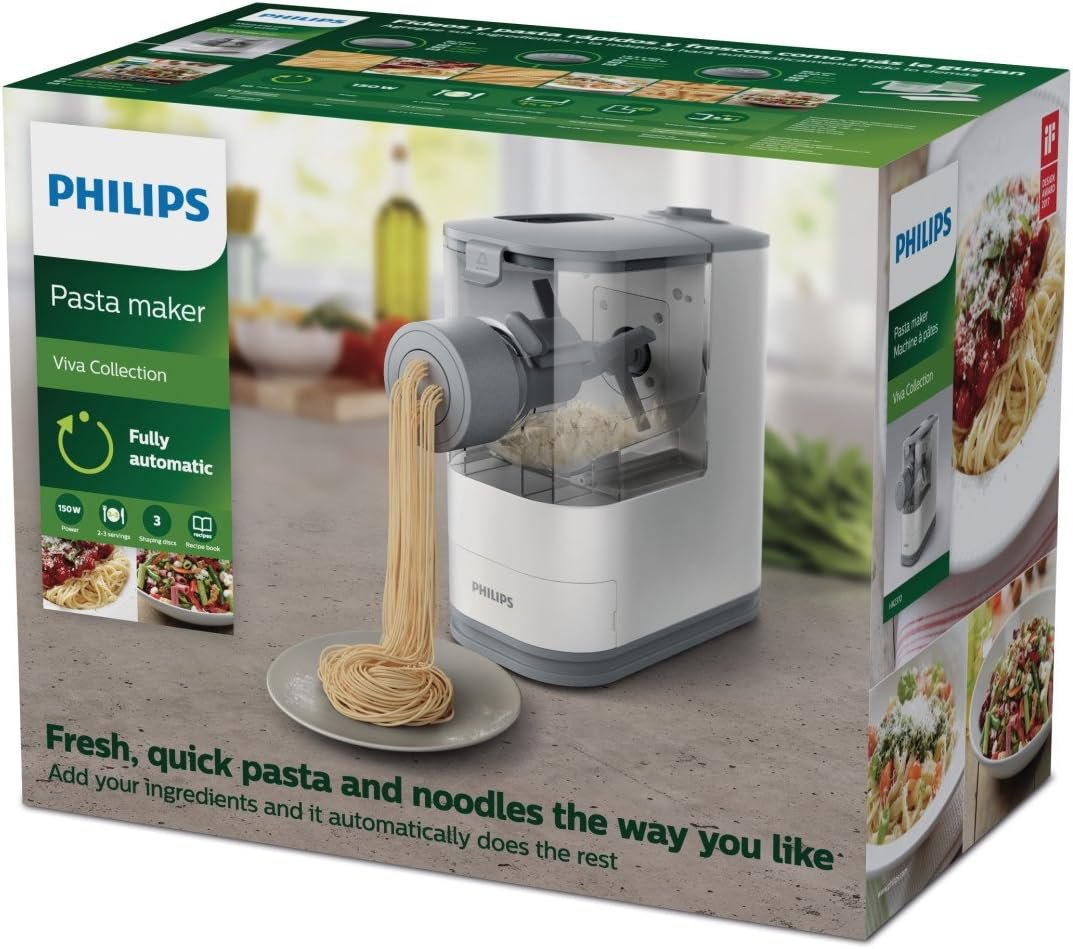
Philips Viva Pasta Maker – Fresh, quick pasta the way you like
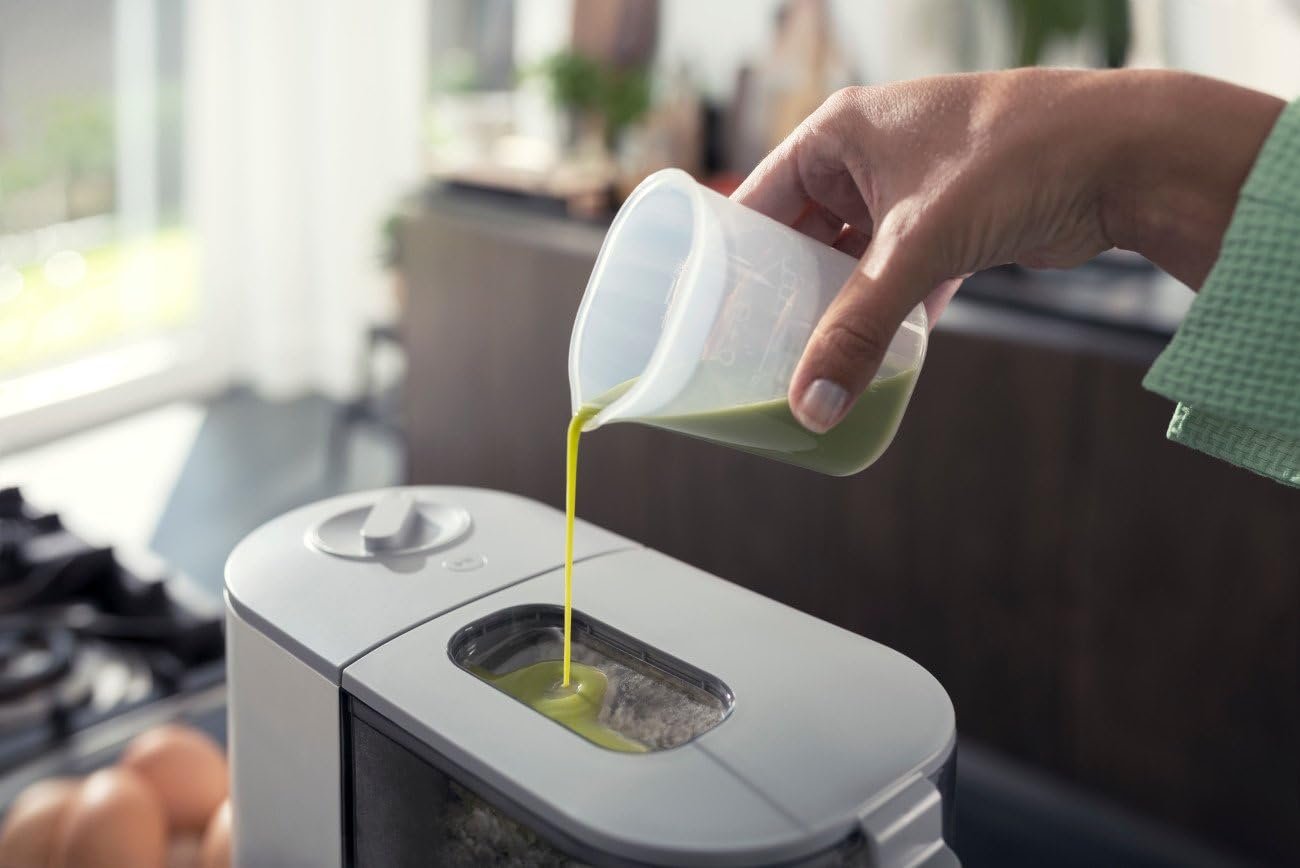
Add ingredients and it automatically does the rest
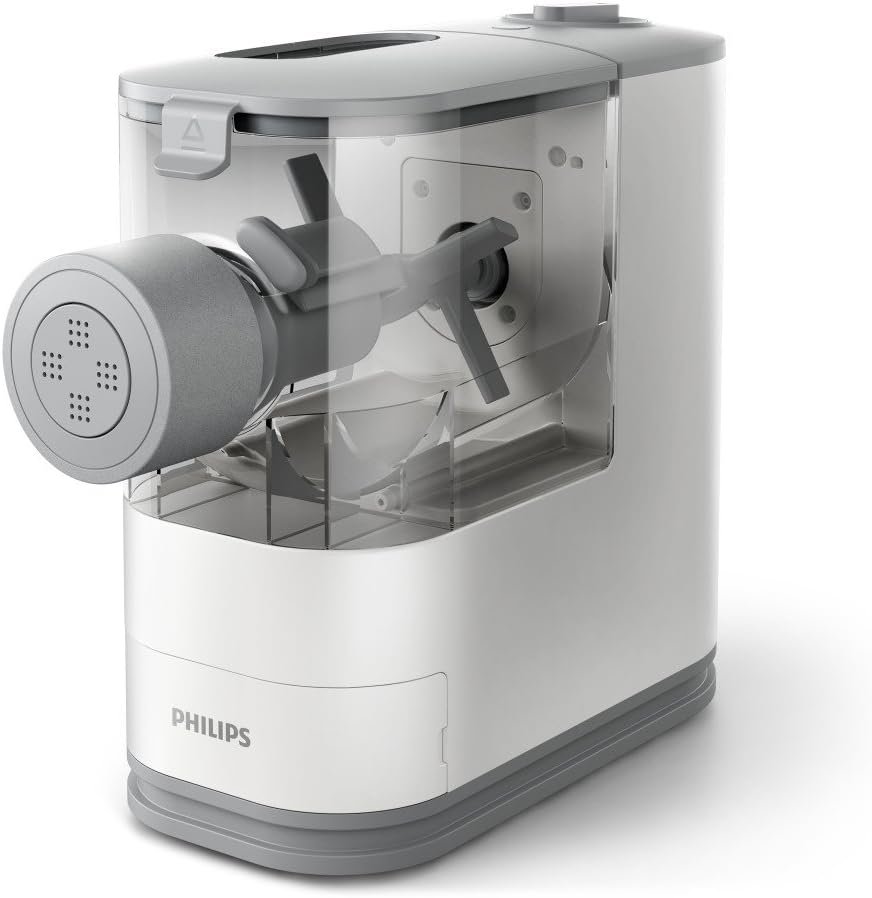
A fully automatic solution that enables you to prepare fresh pasta and noodles from scratch. With its compact size, it easily fits on your kitchen counter for quick, everyday use.
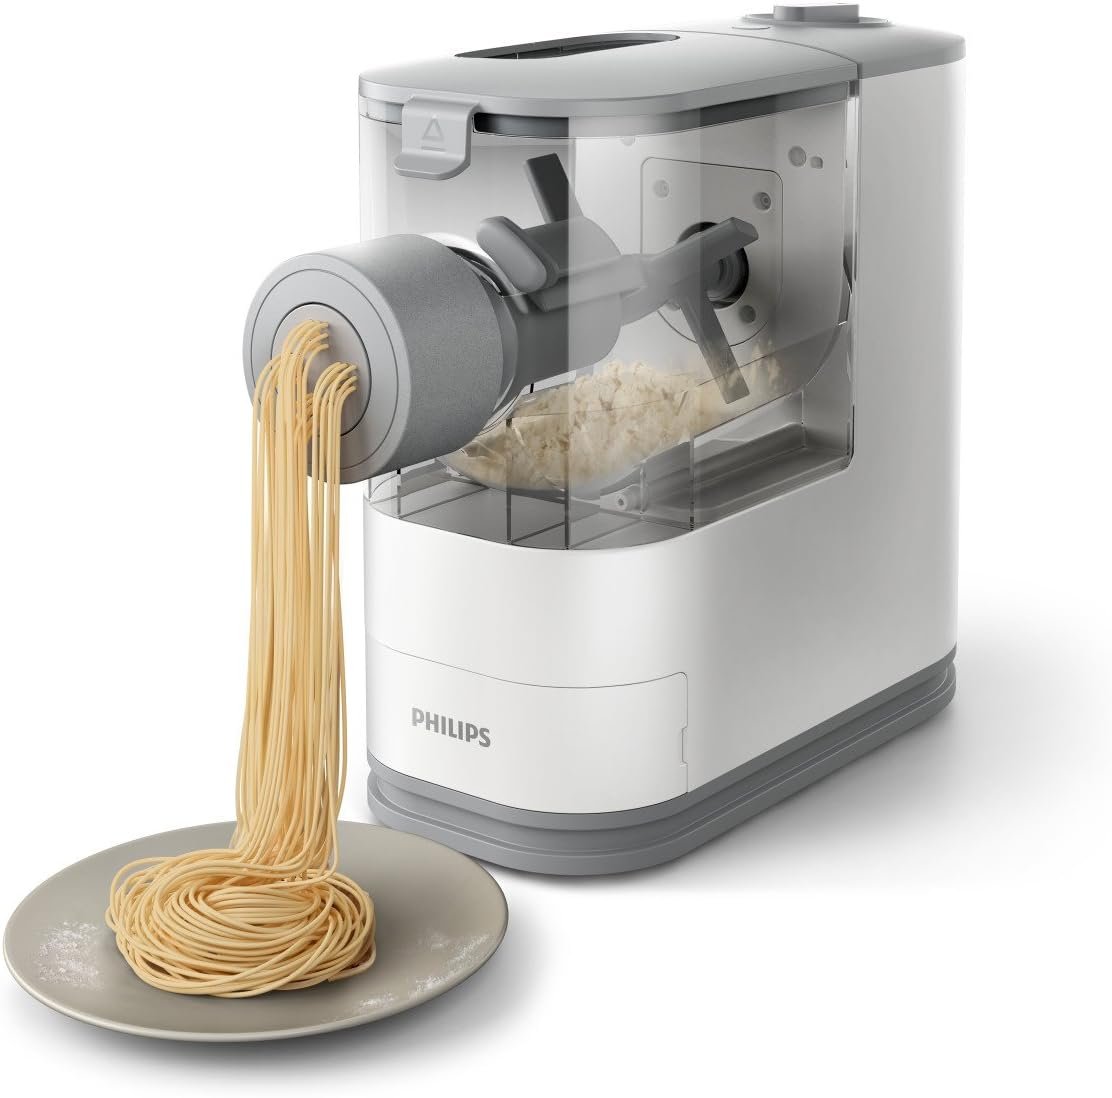
- Automatically kneads dough and shapes pasta
- Make 2-3 servings of fresh pasta in just 18 minutes
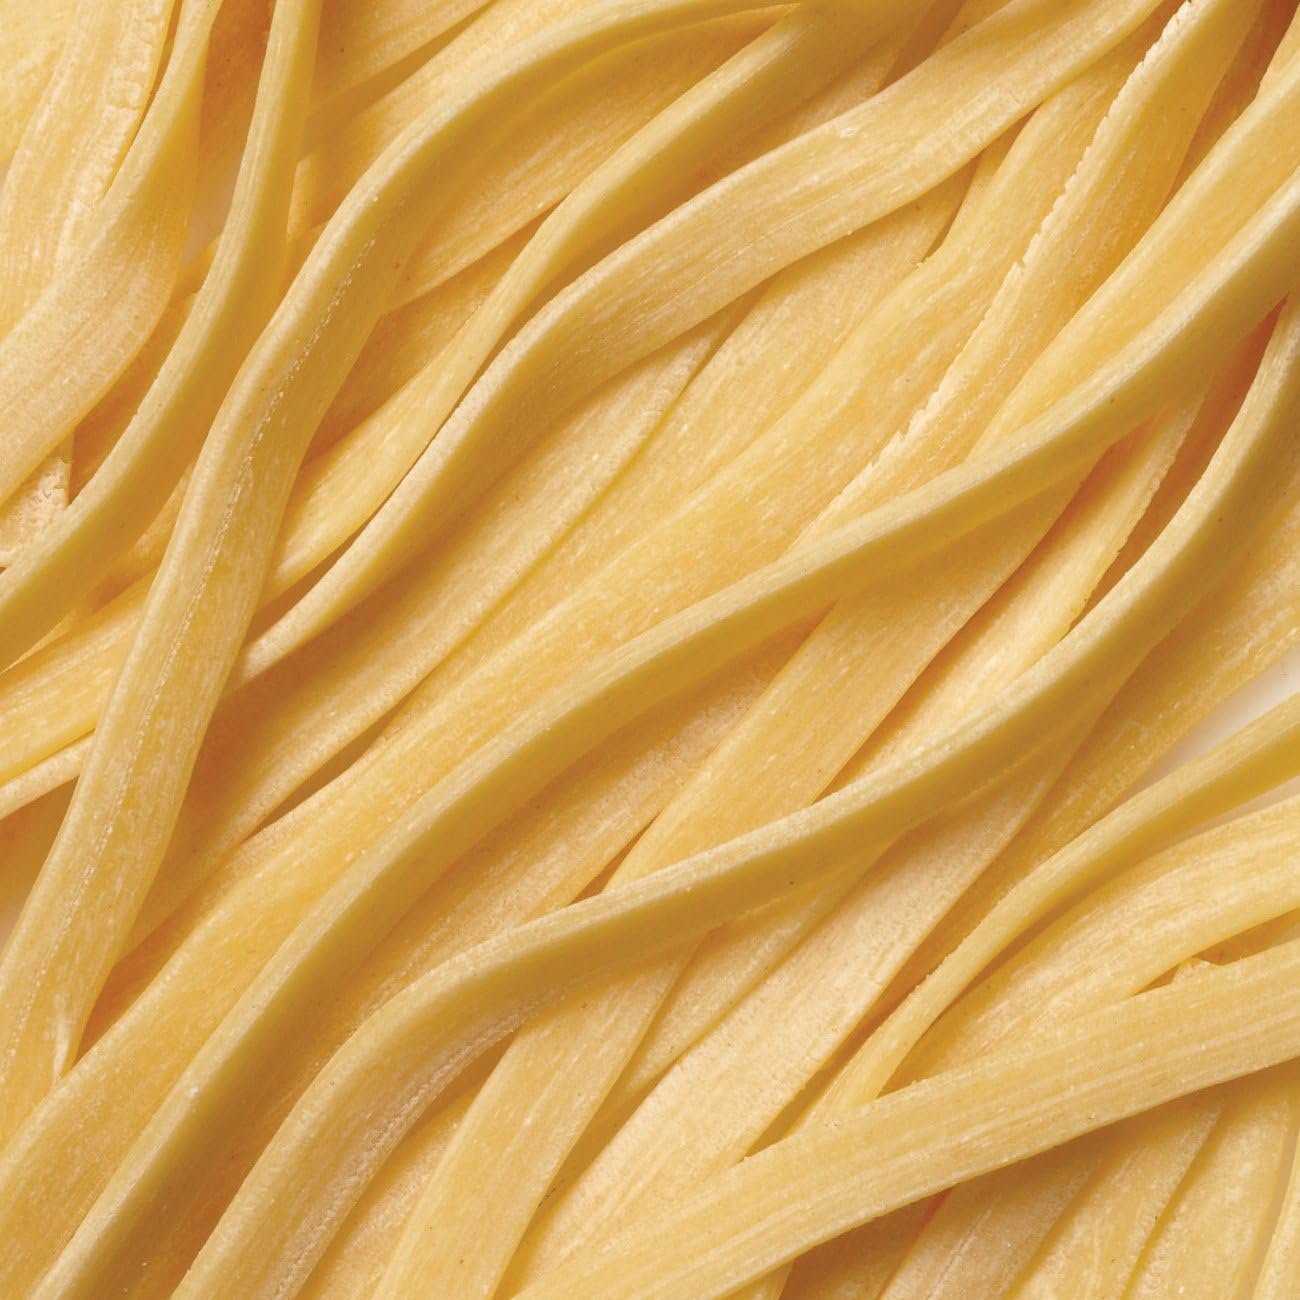
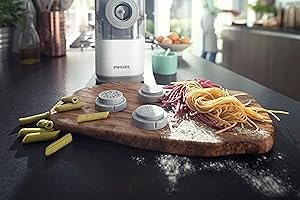
- 3 classic pasta types: spaghetti, penne, fettuccine
- Free colorful recipe book full of inspiration
Features
Fresh Pasta in Minutes
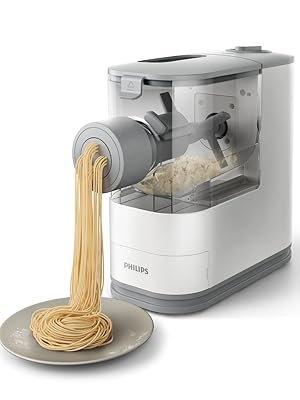
We’ve made it easier to make homemade pasta. Now, with the fully automatic Philips Viva Compact Pasta Maker, you can make fresh pasta and noodles much more often. Because your new pasta maker does all the hard work for you.

Fully Automatic
The Philips Viva Compact Pasta Maker mixes, kneads and extrudes pasta in just 18 minutes, and guarantees great texture and taste.

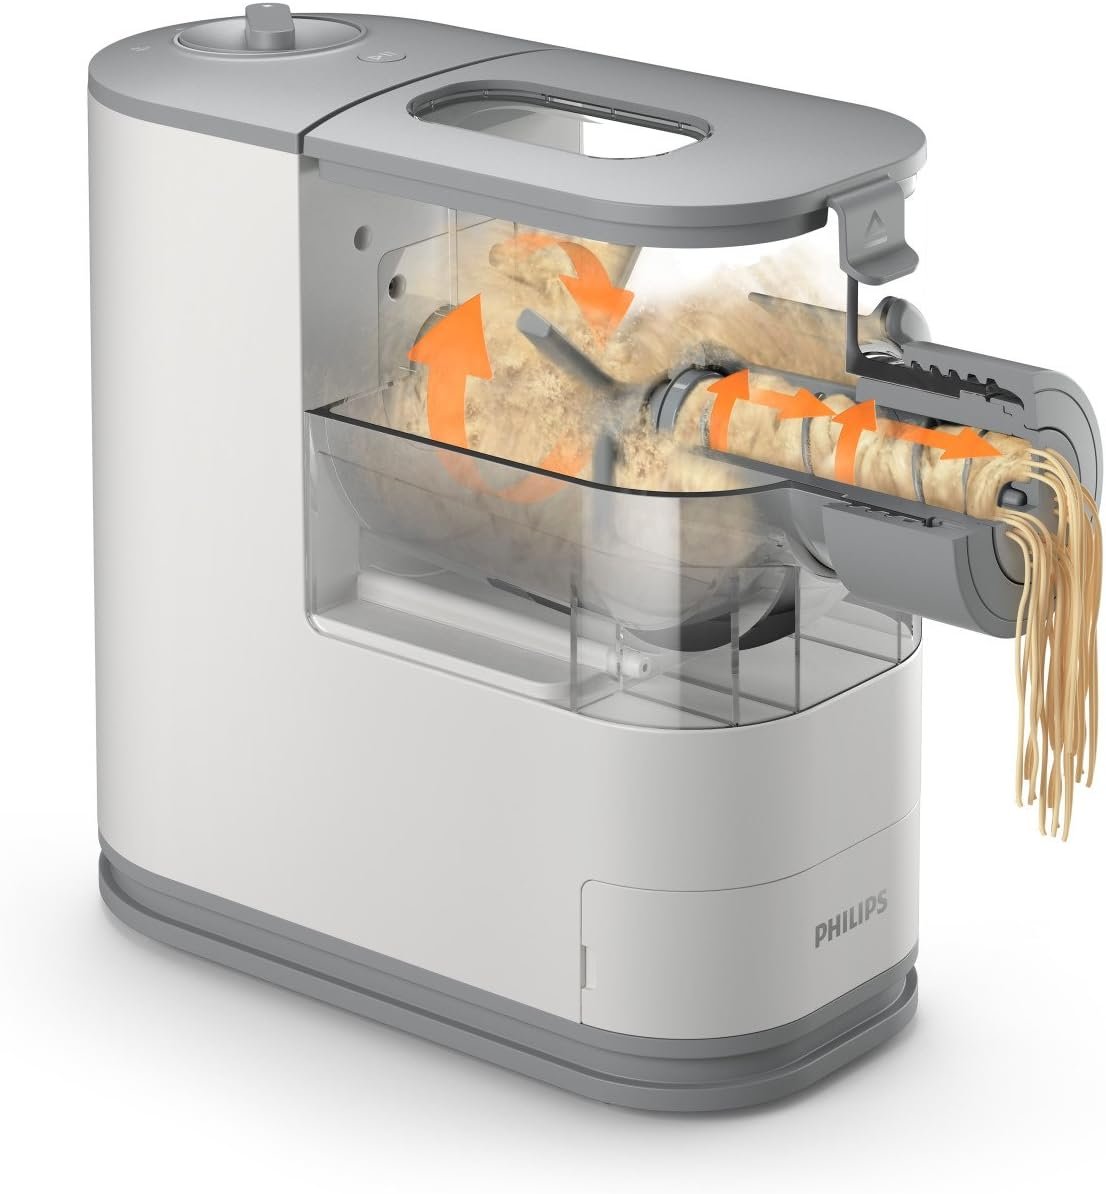
Unique Stirring Bar Design
Featured with angled multi-pins, the stirring bar ensures the flour and liquid is mixed evenly and thoroughly from every corner in the mixing chamber.
Features
Long Kneading Tube
The long kneading tube guarantees optimal kneading, resulting in the perfect dough consistency.
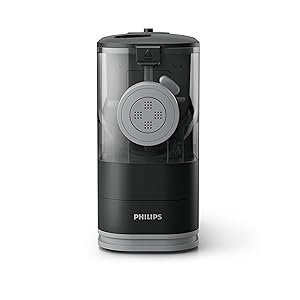
Compact and Modern Design
Due to its seamless and compact design, you can keep it out on the countertop or store in the cabinet without occupying a lot of space.

Easy Operation and Cleaning
With the detachable components, Philips Viva Compact Pasta Maker can be easily setup, dismantled and cleaned.
Gluten Free Pasta Recipes

Gluten Free Pasta Recipes for the Philips Viva Compact Pasta
If you would like to make gluten-free pasta at home with the Philips Viva Compact Pasta maker, we recommend you to use a gluten free flour such as Buckwheat, Quinoa or Chickpea and in some cases add extra thickener such as Xanthan gum. Xanthan gum is a gluten-free polysaccharide which acts as good binding agent to give pasta extra bounce. Note that flours like coconut, almond and rice contain no binder so they should be combined with other flours to increase the chance of success.


Recipe #1
200 grams garbanzo bean flour (we used Bob’s Red Mill)
70ml egg mixture* (1 egg + water)
*egg mixture = add egg(s) first to the included liquid measuring cup then add water to reach total amount indicated in recipe.
Recipe #2
140 grams buckwheat flour (we used Bob’s Red Mill)
60 grams rice flour (we used Bob’s Red Mill)
2 tsps oil
115 ml water.
Recipe #3
100 grams buckwheat flour (we used Bob’s Red Mill)
100 grams chestnut flour (we used Bob’s Red Mill)
½ tsp carob flour or Xanthan gum
90 ml water
1 tbsp oil
The recipe book included is great because it gives you the exact measurements you need for different types of flour.
I cannot say enough. I wish I could buy one for all my daughters, but they use their stand mixer.
The instructions are clear and precise, which is always welcome. The recipe booklet is perfect for switching up plain old pasta.
I just love all this!
It is compact, so storage is not an issue. It does have some heft to it, so be careful.
I feel it will last a long time. The motor is very quiet and strong.
Good quality parts, they also have heft to them, so not worry of breaking any parts. I’ve dropped the rod on the floor and prayed it didn’t hit my foot, cause that would hurt.
I bought the Black colored machine to match my appliances and it blends perfectly.
Buy this machine!!
In addition to this one, I've researched the
Philips 7000 Series Pasta Maker
and the Philips Artisan Smart Pasta & Noodle Maker (which is only available at one high-end kitchen brand store). I also read all the reviews from all the sites, including the Philips site and Amazon and even watched a few YouTube videos.
In the end, this pasta maker is the right balance for me because I am only cooking for myself and do not want to freeze pasta or make large quantities. However, large quantities can be made with this maker but it has to be done in batches. It is really designed for 2-3 people unless a recipe is doubled, which is possible to do in one churning session. It has a small footprint and comes with three discs for the three types of pastas most people use (spaghetti, fettuccine, and penne).
In the box is the unit, three discs, one recipe book, one instruction book, two measuring cups (one for dry and one for liquids), a cleaning wand, and a cleaning tool that also doubles as a cutter. The liquid cup has two sides and it is important to know which side to use. Side A is for when only all purpose flour is used and Side B is when a mixture of other flours are used. I used a simple recipe of 200 grams of
King Arthur Pasta Flour Blend
and 75ml of liquid on the Side B side of the liquid measuring cup. The liquid was one egg topped off with water until 75ml was reached. I then beat the liquid with a fork until it was mixed.
I just got this today and less than one hour later had a two person spaghetti meal that I ate all by myself. Because I reviewed everyone's videos and read a lot of reviews, I knew that the dough had to be crumbly, although I do think mine was a hairline too crumbly.
After setting up the machine correctly, I then put the flour in the mixing chamber, covered the chamber with the lid, and turned on the pasta maker. As it was churning, I poured the liquid through the two tiny slits in the clear top ever so slowly. It must be done slowly. The texture of the dough must be crumbly and not mixed like one would expect when making bread or pizza dough. Nevertheless, after about 10 minutes I had about 2.5 servings of pasta. I immediately cooked it for 3 minutes in a pot of salted boiling water and then drained it (see photos). It was a simple spaghetti dish dressed with olive oil and grated cheese; however, it tasted much more delicious than store bought pasta to me. I am absolutely ecstatic that I was able to create my own pasta in minutes.
Clean-up was not too bad. I remembered from reading reviews that it is important to let the pasta flour mixture dry on all the implements first before cleaning. I then used my fingers to pull and scrap off the dough. The dough just flaked or peeled off depending on which parts I was cleaning. I then hand washed them in seconds once I had brushed off all the stuck on dough--see photos. The photo of the cutting board with dough on it is how much gunk I flaked off the parts. This does not include the small amount of dough I dumped out of the reservoir. Cleaning took me about 15 minutes.
In summary, I am so happy with my purchase. This pasta extruder machine is a perfect size for small families or those who do not mind making pasta in batches. It also has a small footprint. As long as I use the measuring cups provided and measure the wet and dry ingredients EXACTLY, I know I'll get perfect results. I must remember that the mixed dough must be crumbly for this to work properly. I am still debating whether I will purchase the
Philips Kitchen Appliances Philips Compact Pasta Maker 4-in-1 Accessory Shape Kit
which includes the discs for
Pappardelle, Tagliatelle, Angel Hair and Lasagna. Those discs are currently too expensive and I am unsure how much I'll use them. The three discs that come with this maker are good enough and I suppose I can improvise elbows by cutting the penne smaller because there doesn't seem to be any elbow disc available for this machine. The current price of $116.95 plus tax is reasonable for this. I do wish I purchased this when it was seventeen dollars cheaper but I had not made up my mind at that time.
Pros:
1. Fully Automatic: You don’t have to be a pasta pro to make restaurant-quality dishes with this machine. Just add ingredients, press a button, and let the machine do the work. It’s as easy as it gets.
2. Three Shaping Discs: The included shaping discs (Spaghetti, Penne, and Fettuccine) allow for a variety of pasta options, so you can mix things up based on your mood.
3. Compact Design: It’s small enough to fit on most countertops without taking up too much space. Perfect for people with smaller kitchens or those who don’t want to clutter up their space with a big machine.
4. Recipe Book Included: The included recipe book gives you a range of pasta options to try out, so you can get creative with your dishes.
5. Easy to Clean: After making your pasta, the cleaning process is a breeze. The parts are detachable and dishwasher-safe, so no fuss or mess.
Cons:
1. Limited Shape Options: While the three discs are great for classic pasta shapes, more adventurous home chefs might find the lack of additional discs limiting.
2. Requires Ingredients in the Right Proportions: While the machine is automatic, it works best when you use the right proportions of ingredients. If you’re unfamiliar with pasta-making, you might need to experiment a bit to get the perfect texture.
3. May not be Best for Those with Special Dietary Needs: While this machine works wonders with traditional ingredients, if you need gluten-free, low-carb, or other specialty pastas, you may need to look for a machine that can handle these ingredients more effectively.
In short, the Philips Compact Pasta and Noodle Maker is perfect for anyone who loves fresh pasta but wants to avoid the hassle of making it by hand. With its easy operation, simple clean-up, and versatile shaping discs, you’ll be whipping up delicious dishes in no time. Just be ready to experiment with ingredients to find your perfect pasta!
Regardless, my first batch came out just fine, although I think maybe a bit more liquid was in order. YOU MUST WEIGH TO THE GRAM AND FOLLOW THEIR RECIPES WHEN YOU FIRST START!!!! I cannot emphasize this enough: if you are off even a little, it may not work at all for you. Turn the dial and hit play. Just dump in the flour and slowly pour in the egg mixture. It automatically mixes. It then beeps just before it extrudes, which is only a few minutes (3ish). Be prepared to stand there to cut the pasta until the entire batch is extruded. Since it is so fast, boil your water before putting the flour in the machine. The pasta was cooked in 3 minutes. I was happily surprised at how much I liked the pasta, especially since the trash gluten-free options that are so expensive tend to be pretty bad. The clean-up is a breeze- top shelf of your dishwasher. It couldn't be easier! I can make fresh pasta and cook it faster than a box of dried pasta. Love it!! This works well for 2 people. If you have a family, get the bigger model. I love the small footprint, and it is light, so easy to store and pull out. The little drawer on it holds the other 2 discs, and it has 3 discs included. I will pick up the extra disc, as I see myself using this a ton!
It did take me a few tries to actually get pasta. The book that comes with the machine recommended 80g water+egg per 200g of AP flour, but when I tried that ratio the machine jammed and was a pain to clean. After a couple tries of 80/200 I decided to try 90g water+egg/200g of AP flour and I finally had some pasta. Now that I know the ratio that works I love the machine, but the learning curve was frustrating. As far as cleaning, it's actually easier to clean than I would have thought.
I would probably give this 4.5 stars if that was an option. The first day with the machine was very frustrating, the next two months were exactly what I imagined.
I never believed the videos of making noodles. And it looked like a whole of extra junk to clean up. But this one is from Philips. And if I don't like it I can return it, most likely leaving it out at my door.
I didn't think about economics before. The worse you can get is saving 23 cents per 200 g of noodles without the egg, for 2 to 3 people. This compares organic flour with organic spaghetti from Whole Foods, doesn't count electricity, water, and labor So it takes 1.9 years to break even if you make 200 g every day.
If you add the organic egg, you are losing 19 cents per 200 g of noodles. But spaghetti doesn't have eggs.
The disassembly and reassembly were easy. Except that the triangle marker on the spaghetti disc was so faint that I thought the manual was talking about something else.
The process is so much easier than the bread machine. There is no confusion. Pour 200 g of flour into the chamber out of the way. Close the lid and then turn on the machine. And then pour an 80 ml total of egg plus water into the chamber slowly over the lid. There are only 80 ml of liquid so it can't take much time. There are only 200 g of flour so the whole process doesn't take much time either.
I can't believe that the machine did it right the first time. There are no sensors. A simple motor is controlled by a program. But the machine makes spaghetti like a robot. A spaghetti isn't uniform across the length but the imperfection disappeared after cooking.
If not cooking immediately, I would cover the spaghetti so it won't get dry easily. It will start stiffening up and may break when you move them.
I boiled the basic spaghetti recipe for 8 minutes. It tastes like, well, spaghetti.
You can put everything except the motor into the dishwasher. All the plastic is of good quality. They can be rinsed clean. There is a brush with a hard scrubber and a silicone soft scrubber to take out the few flours that are left behind. The flat cleaning tool is actually the metal pin in the middle, each end of which is used to clear holes on the discs.
It's not Korean ramen, not authentic udon, but I've been there before settling on spaghetti now. I'm very happy with it. Perhaps I'll think of something that justifies me against ordering spaghetti on our weekly grocery order.
Pros: Great pasta that's reasonably easy to make.
Cons: A pain to clean (well). Can be finicky to put back together.
Some lessons. Firstly, follow the directions for the relative amounts of fluid and flour. It will look too dry. This is correct. You should get one of the little digital kitchen scales that are accurate to a gram to correctly measure the weights. Otherwise the mixture will be off, and you'll get results from the pasta falling apart or having trouble coming out, or not at all.
Secondly, mix together the egg and fluid well before putting it in the unit. Otherwise the yolk might just get stuck around the axle and the pasta won't be as tasty.
Thirdly, the unit is finicky when being put back together. One mistake I made is not getting the axle in far enough. You'll know this is the case because a) the exterior knob doesn't go on all the way, so some threads show or b) you'll hear the machine working, but the axle won't spin. Once this occurs, you really need to take it apart and put it back together again. Otherwise for some reason the axle just won't go in all the way.
Overall, I think it's a great little machine that can be a bit of a pain. As long as you accept that it will be some work to clean, and be careful putting it together, I think you'll enjoy having fresh pasta.
My only minor complaint is that there is not enough room in the drawer to store all the dies if you order the additional ones.
My recommendations, for the dry measure, weigh the semolina and flour using a scale. These measurements must be accurate if you want perfect pasta.
If you use dry herbs, add just a touch more liquid. The dry herbs absorb liquid and will leave the dough too dry to press through the dies if you don't. I'm still working on how much more liquid. I like adding basil to my pasta.
A word of caution, do not over tighten the die bezel.
Prior to adding the liquid, give it 3 revolutions before adding the liquid. This will allow the semolina and flour to premix, resulting in a better consistency.
Once you get all of this, you'll never go back to that dried stuff.
3/15/21 update. I just had a batch that wouldn't press through the die. Interesting that I used very large eggs which required less water to stay within the 150 ml limit for a double batch. I ended up recycling the run cycle adding 2 tablespoons of water. On the 3rd tablespoon, the dough had definitely changed consistency. When the machine reversed, the pasta came out perfect.
Stick with the same size eggs you're used to. Seem like the machine needs a certain minimum amount of water without over doing it.
I forgot to double the amount of egg & water to the 400 g doubled flour amount. It called for 150 g semolina and 50 g white flour. Liquid measure was supposed to read, 75 ml after you add 1 egg and top the liquid up to make it that amount. Double that would have been 150 ml. Instead, I was tearing my hair out wondering why it said to add grams instead of ml. My husband was probably right when he told me at that point that I shouldn’t have drunk any of the whiskey he had just brought home from a trip out to the local liquor store. lol
I ended up with a big ball of dough that I knew, from past experience with an old machine I used to own, was too wet. I had to stop & rethink everything. I didn’t want to throw all that dough & egg away. I decided to split it into 2 halves & add another 100 g of flour, acc. to the included dry ingredients measuring cup, to each of the 2 separate batches I was about to remix.
I didn’t have white AP flour I could use for adding to the dough. A few days prior, the new bag I just recently bought at the grocery store had a worm in the top when I opened it. I had to throw the whole bag away! I didn’t know I had another bag of white flour in storage until after I finished making the pasta in this machine! I found some bread flour I had in storage and added that in place of the white AP flour to the over-moist semolina dough mixtures.
Somehow miraculously, it all worked out and I was able to extrude 2 good batches of pasta when all was said and done! FYI, I liked very much that the machine automatically went back to remixing the dough left in the machine so that it could extrude more of it out. But even after that, there was still residual dough left in it that it was unable to pick up and push through the extruder.
The solution: take it out of the machine and push it back into the rectangular opening where the screw turning mechanism pushes it through to get it to extrude it. When you’ve done this enough times and you still have a small amount of dough left, make it into noodles by hand. Stretch it out between the palms of your hands and roll it into round noodle shapes. Having been a pottery artist for many years, this is very easy for me but I don’t think it’s hard for anyone to do.
Another thing I had fun doing was pushing out the “buttons” of pasta dough that gets stuck in the dies, and cooking them in with the rest of the past without changing their shapes. You can reshape them if you want. And you can do the same with any and all the little bits of dough that gets left out.
If you really want to get into it & you’ve made a bigger mistake that leaves a larger quantity of unextruded dough, you can get out your rolling pin. Roll the dough out into a flat sheet. Then cut it in noodle-shape slices. Where there’s a will, there’s a way!
Another issue I had with the instructions is how it says to place the die on the opening by putting the non-existent arrow at the top. There are lines in die opposite each other but they don’t end up centered at the top if you push the die in firmly enough so that its little teeth fit into slots on the machine end that hold the die in place. This was very confusing. I didn’t know if I should keep the die loose and not push it into the machine or push it hard enough to make the teeth mesh with the gaps molded in on the machine. Very hard to describe the problem but if you’ve tried this, I think you’ll know what I’m talking about.
Positives- I like the improvements they’ve made to this type of machine such as the built-in storage drawer on the bottom. The whole process being automatic from mixing to extruding is very nice. It’s nice and compact which is a big reason I bought this instead of the larger model. The scraper with metal rods built in at both ends is very handy for poking dough out of the holes in the dies when they need cleaning or if you need to clear a few holes while it extrudes and they get plugged up.
Can’t wait to try this again with a better start the next time we want to eat pasta. Not sure if this machine’s motor is strong enough for it to last. I bought the added coverage in case it breaks down. I also bought the extra dies elsewhere that will fit this machine & await their arrival so that I can try them out.
Until now.
I ended up buying this because making Italian food is one of my favorite dishes to make...I miss the flour everywhere...I miss the warm pasta feel as you make it etc. But with gluten free pasta I was hovering dangerously close between cardboard and pasta so heavy that it would make some unladen Jewish bread seem like a chewy treat.
****THE REVIEW***
When I unboxed this thing I had my doubts. How in the hell was this thing going to make any kind of decent pasta. But my wife was excited again for pasta and so we just went for it. Pictured above is actually our first batch. You can literally still see the box and instructions on the right. Our first batch came out literally perfect. We used King Authors 1:1 gluten free flour. We ate a couple of noodles straight off that rack and they were amazing. Even better with some homemade sauce we had made just prior.
FOLLOW THE INSTRUCTIONS EXACTLY AS IT IS WRITTEN IN THE PASTA MAKING KIT
and for people like me that ignore that sentence because we know better let me say it again
FOLLOW THE INSTRUCTIONS EXACTLY AS IT IS WRITTEN IN THE PASTA MAKING KIT
I seriously can't express this enough. Our second batch I decided I knew better. I changed the ratio based off another recipe I had been making hand made pasta with...put that recipe into the maker and it was total garbage...the first noodles to come out were almost as good as the first ones...then the ratio was off and not enough liquid for the rest of the flour and it ended up blocking up the mixer. I ended up throwing out the batch. I tried again using more eggs then what my recipe called for and the noodles weren't garbage ready but they were not the caliber I am used to serving in my house to guests...and then I went back to the recipe as it is on the website using the flour weight instead of cup measurements...and voila! Back to perfect noodles.
again...shouting warning
WEIGH YOUR FLOUR. DO NOT PACK IT INTO A MEASURING CUP...seriously. I did this wrong twice and forgot another time...your end result will almost always tell you how you messed up...now if Philips could make a fridge warning me I am putting the cereal into it instead of the milk I would appreciate it.
Clean up is not so much fun...but seriously when is it ever...there is flour, egg, and mess everywhere and in every nook and cranny...while it is fairly easy to take apart and put back together...if you miss anything...the next time you take it out though it will be as if you left concrete inside of your machine.
We have owned it about a month now and we have made 11 batches of pasta and only 3 were horrible...and all of those were my mistake. If you want gluten free pasta (I am sure regular pasta too but there is so much good pasta out there why make your own) that tastes amazing...with the ability to make almost ANY kind of pasta (lemon pepper pasta and tomato basil are our favorites so far) I seriously cannot recommend this enough.
My first batch didn't turn out well at all. Instead of interpreting the instructions for liquid correctly, I added 80 mL of water plus an egg. What I got was a mixture that was far too moist and couldn't even extrude! It took quite a while to clean up the the pasta maker and remove the dough from the paddle and extruder. Not to be daunted, and recognizing my mistake, I tried again.
My second batch was perfect. I used the basic recipe of 200 grams of flour to 80 mL (total) of liquid and the pasta started to extrude after about 3-4 minutes. It is a bit drier than what you'd expect if you've ever made pasta with a manual machine, but has the advantage of not sticking together when you trim it and place it on a plate or bowl. In addition, the dough doesn't need to "rest" for 30 minutes before processing, a definite time saver.
The cooked pasta was delicious. I boil my pasta with a healthy dose of salt in the water, and it had a freshly made taste that went perfectly with a homemade tomato sauce and meatballs. Cooking time to al dente was approximately 5 minutes.
I think cleanup of the machine parts is a bit more work than using a manual pasta maker. With my Marcato Atlas 150, I never have to do anything but quickly wipe it with a damp cloth and put it away for the next time. The Philips has several parts that need to be cleaned, and the shaping disk really has to be cleaned by hand with the attachments to the scrapper blade. I haven't tried using my dishwasher for cleanup, but the parts are supposed to be dishwasher-safe.
Like most kitchen appliances, I suspect I'll get better at using the Philips Compact Pasta Maker as I use it more. It reminds me a bit of the first time, years ago, when I purchased a Robot Coupe food processor. The first few times it seemed like more work than it was worth, but now the Robot Coupe has earned a coveted place on my limited kitchen counter and helps me prepare meals every day.
Here are some tips from one new user to another.
1. Weigh out the flour with a kitchen scale. I have an electronic kitchen scale from Amazon
Inateck Digital Multifunction Kitchen and Food Scale, Stainless Steel, Accuracy 0.1 g (Measurement Range 0.5 g to 3 kg), 2 x AAA needed(not included)
that measures grams or ounces. The plastic cup that is supplied by Philips is of limited use. 200 grams of flour mounds over the top and a level amount using this container is not an accurate measure. It makes more of a mess than is necessary.
2. The other plastic measure supplied with the machine is used for liquid. I have great eyesight and the markings are very difficult to interpret. Unlike a Pyrex or Anchor measuring cup where the markings are painted red on clear glass, the markings on the cup are simply molded into the container and are very difficult to read. Use a real measuring cup to measure out the quantity of liquid you're using and you'll have an easier time.
3. If you've ever made pasta dough manually, don't be fooled by the dough's consistency in the machine. The recommended basic recipe is the right ratio of flour to liquid. Making the dough too moist will result in a mess in the machine and a lot of cleanup. You're better off erring on the side of less liquid than more.
I'll report back as I gain experience at using it. It would be nice if a pappardelle and lasagne shaper were available, but I understand that this is a new model for Philips and that those parts will be available in the future.
UPDATE October 19, 2017: Tried making fettuccine with Red's Semolina flour. I weighed out 200 grams and added the egg and water (80 mls) and the result was excellent. It's not exactly the type of fettuccine I would make manually as it's definitely a bit thicker, but very tasty and disappeared from everyone's plate very quickly!
UPDATE Friday, November 24, 2017: I have discovered that there are no other pasta disks for this machine as there are for the Philips HR2357. Disks made for HR2357 will NOT fit the compact pasta maker. I don't know why they're offered as add-ons on the same page, but believe me, they won't fit. Hopefully Philips will consider making this machine even better by adding a sheet and pappardelle disk.
UPDATE Monday, January 13, 2020: Philips has released a few more dough shapers for angel hair, ravioli and lasagna. I bought them but have yet to try them. Also, I found that by following the recipe included with the machine when using semolina results in a better pasta. I was using all semolina. Philips suggests 150 grams of semolina and 50 grams of all purpose flour. After trying both, I agree.
One last note. The pasta made with this machine is thicker and a bit doughier than commercial pasta or pasta that you can make with a standard pasta machine, like an Atlas. The difference is that you can control thickness in a manual pasta maker. With the Philips, you can only use the extruding faces, so there's no controlling the thickness of penne.